Transferring data from OneDrive and Dropbox has never been easier! With just a few clicks, you can securely move all your files and documents to your Projectfusion data room. Say goodbye to the hassle of manual transfers and hello to seamless, effortless data migration. Trust us to handle the heavy lifting so that you can focus on what really matters – your work.
To transfer files between OneDrive and Projectfusion using Goodsync, follow these steps:
- Install and launch Goodsync on your computer. (IT may be required).
- Create a new job by clicking on the “New” button and selecting “Job”.

- Select “OneDrive” as the left folder and “Projectfusion” as the right folder.

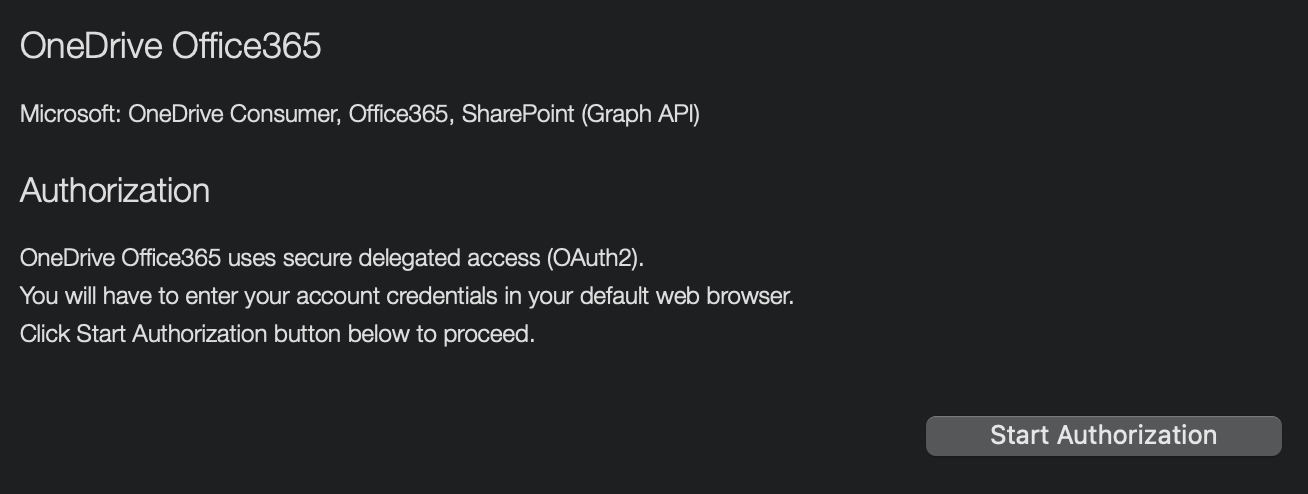
Select OneDrive, or an alternative cloud provider of your choice! 
For Projectfusion, select WebDAV. You’ll need to click on the silhouette icon to add your credentials. - Enter your OneDrive and Projectfusion login credentials and connect to both accounts.

- Select the top-level folder on OneDrive that you want to transfer to Projectfusion.
- Select the destination folder on Projectfusion where you want to transfer the files. Note: This will usually be the ‘documentLibrary’ folder, which is the top level of your document structure.
- Click on the “Analyse” button to review the changes that will be made.

- Once you have reviewed the changes, click on the “Sync” button to start the transfer. Depending on the size of the data you’re transferring and your internet speed, this may take some time.
You can also set up a live sync feature to automatically transfer any changes made to files on OneDrive to Projectfusion. This lets you stay up to date with all the changes in the dataroom without losing time checking for changes and having to download the whole thing again!
What’s also great is that when you import your data into Projectfusion, if you have autonumbering enabled, your files will be indexed automatically! Yet more time saved!
For more details getting started with GoodSync, see our help article (you may need to rope in your IT team to help). Feel free to contact us with any questions at [email protected].


